School onboarding toolkit

Get your school live on Gurukul in an afternoon.

A walkthrough of every step, from registering your school to the first morning attendance, with real screens from the app. Follow it in order, or jump to the part for your role.

  • πŸ“‹ 4 stages
  • ⏱ About 2–3 hours for the admin
  • πŸ“± Android app Β· English & ΰ€Ήΰ€Ώΰ€¨ΰ₯ΰ€¦ΰ₯€

Who does what

Gurukul has four kinds of accounts. The school admin sets everything up first, then everyone else joins in a few minutes.

🏫

School admin / Principal

Registers the school, adds classes, students and staff, sets up fees and payroll, and approves everyone who joins.

Stages 1–4 β†’
πŸ‘©β€πŸ«

Teacher

Joins with an invite code from the admin, then takes attendance, creates assessments and builds quizzes.

Joining as a teacher β†’
πŸŽ’

Student

Signs in with the phone number on their school record and sees classes, fees, attendance, report cards and games.

What students see β†’
πŸ‘¨β€πŸ‘©β€πŸ‘§

Parent

Links to their child with the child's registration number and the contact number the school has on file.

Joining as a parent β†’
0
Admin Β· before you open the app

Prepare your details

Setup goes fastest if you collect these first. A simple spreadsheet is enough.

🏫 School details

Needed in Stage 1 Β· about 5 minutes

  • School name and full address
  • City, state and 6-digit pincode
  • Contact email and a 10-digit contact phone
  • Principal's name and phone, and director's name
  • The admin's own phone number (needs WhatsApp, because that's where sign-in codes go)
  • School location (optional; you can set it later from the premises)

πŸŽ’ Classes & students

Needed in Stage 2

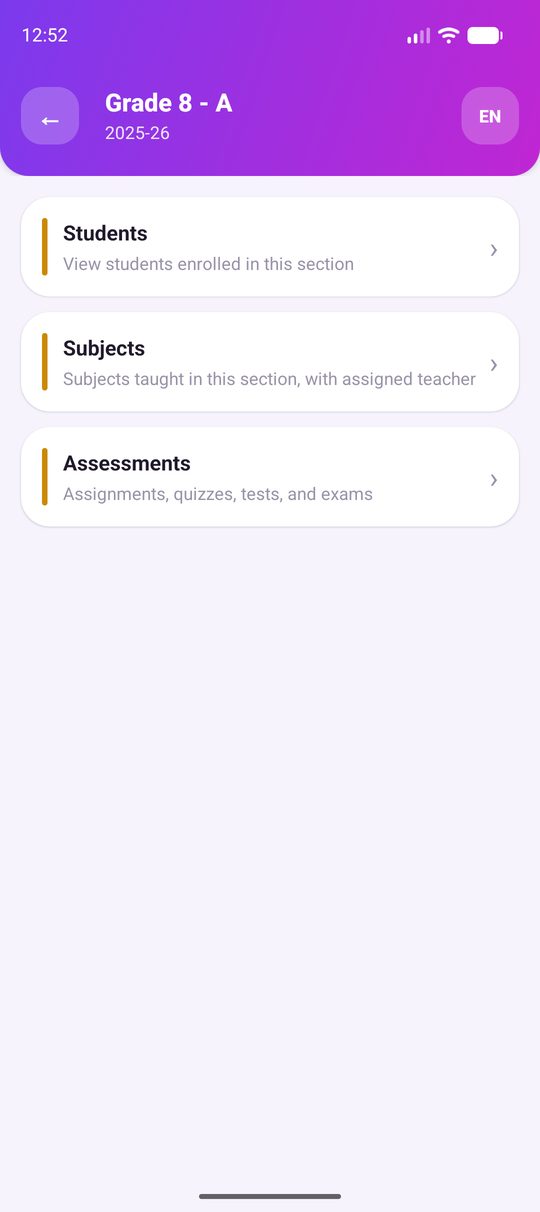
  • List of classes and sections for the academic year (e.g. Grade 8 – A, 2025-26)
  • For each student: name, roll number, date of birth, gender, address
  • Parent's name and 10-digit parent contact number (this is how the family signs in)
  • Admission date

πŸ‘©β€πŸ« Staff, fees & payroll

Needed in Stages 2 and 4

  • For each staff member: name, designation, join date, contact phone
  • Bank account number (9–18 digits) if you'll run payroll
  • Fee heads (tuition, transport, lab…) and the amount per class
  • Each employee's basic pay, allowances and deductions
1
Admin Β· about 10 minutes

Register your school and sign in

You only do this once. Registering makes you the school's first admin.

Step 1.1

Open the app and choose "Register a new school"

Welcome→Register a new school

The Welcome screen has two buttons. Find my school is for people joining a school that is already on Gurukul. As the admin, tap Register a new school.

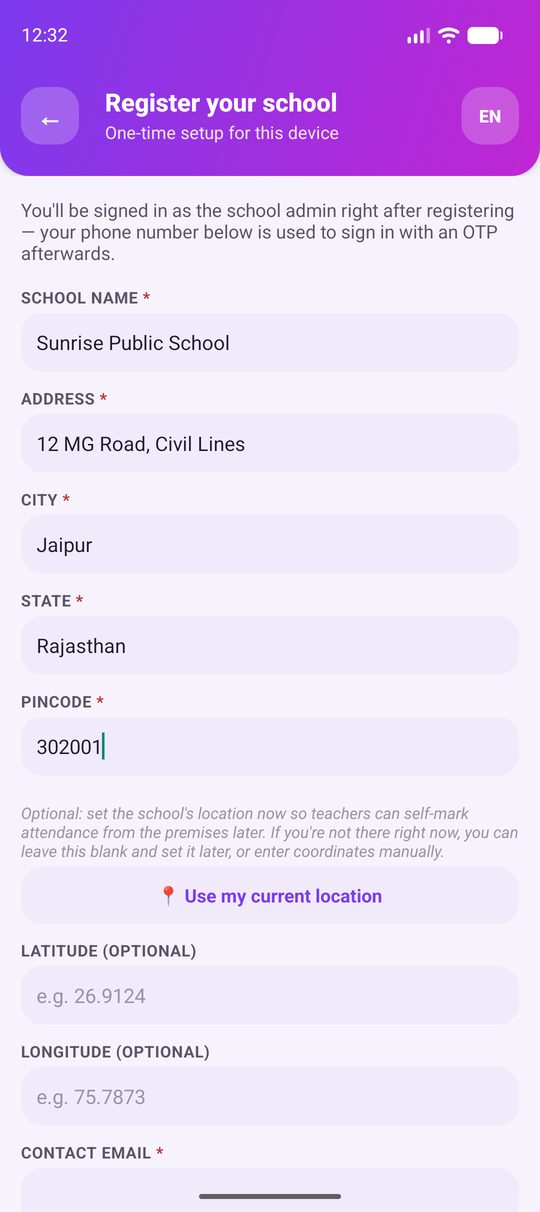
Fill in the school name, address, city, state and pincode. Every field marked * is required.

🌐Tap the EN button in the top corner of any screen to switch the app to ΰ€Ήΰ€Ώΰ€¨ΰ₯ΰ€¦ΰ₯€.

You're on the "Register your school" form with the address filled in.
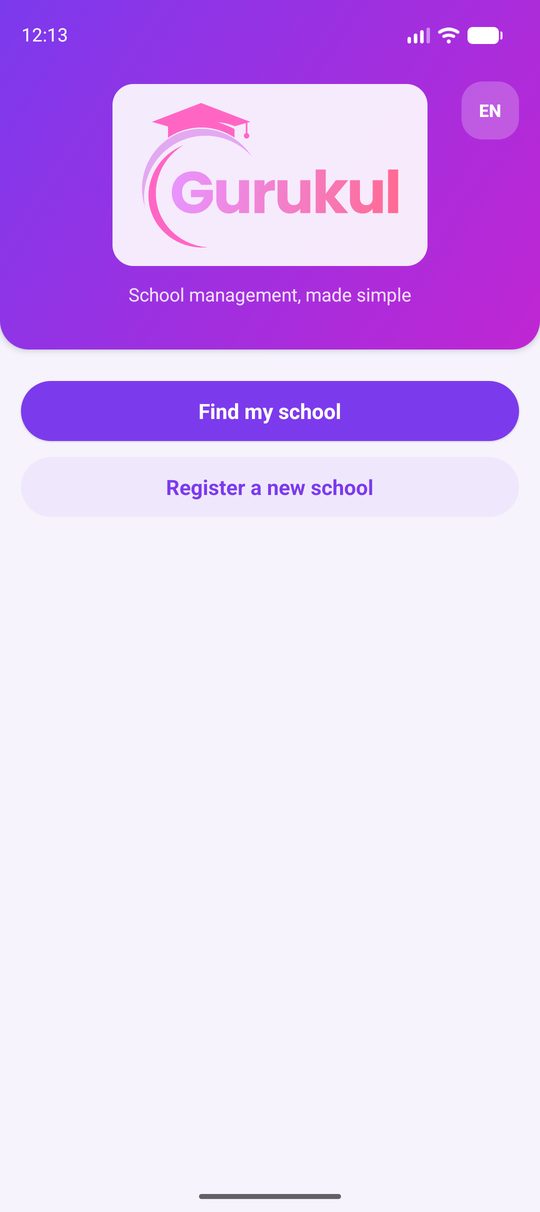
Gurukul Welcome screen with Find my school and Register a new school buttons
Welcome
Register your school form with name, address, city, state and pincode filled in
School details

Step 1.2

Add the location and contacts, then tap "Register school"

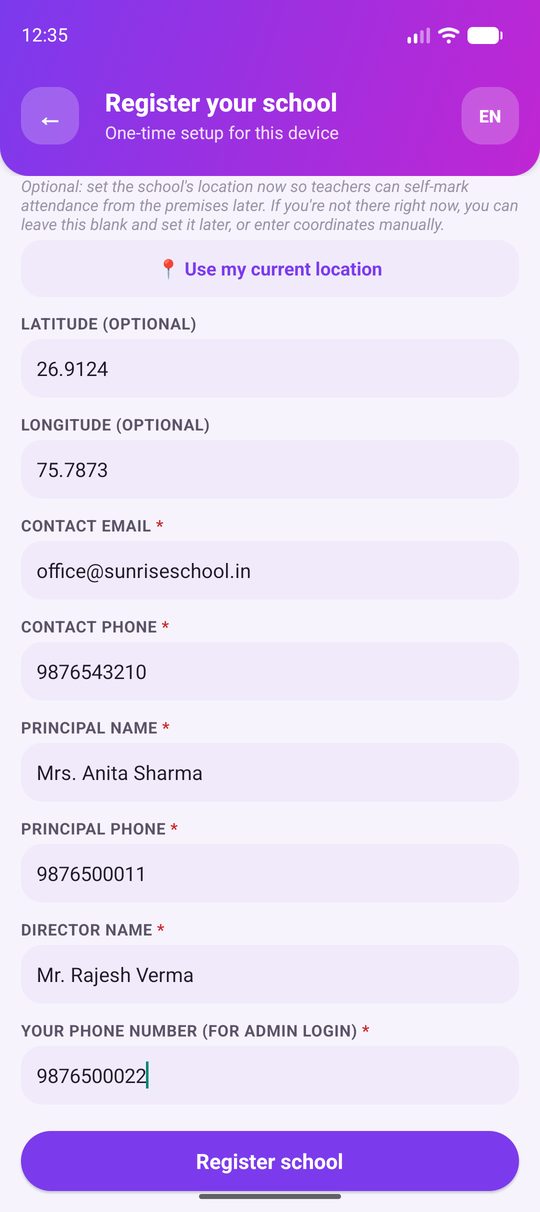
  1. Location (optional). If you're at school, tap πŸ“ Use my current location. Otherwise type the latitude and longitude, or leave both blank and set them later. Teachers use this to mark their own attendance from the campus.
  2. Contacts. Enter the contact email and phone, the principal's name and phone, and the director's name.
  3. Your phone number (for admin login). Enter the number you'll sign in with. Use a number that has WhatsApp.
  4. Tap Register school.
⚠️Double-check the admin phone number. Sign-in codes are sent to it on WhatsApp, and it's the only way into the admin account.

The app signs you straight in as admin and opens your school's dashboard.

Lower half of the register form: location, contact email and phone, principal, director and admin phone
Location & contacts

Step 1.3

Signing in next time (for everyone)

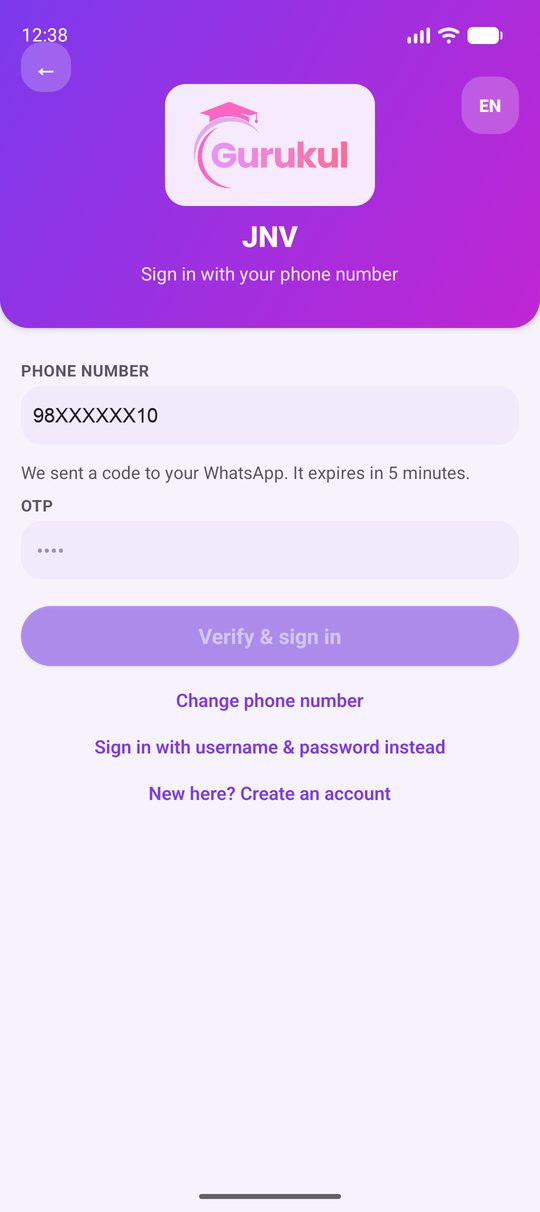
Find my school→Search by name→Send OTP→Verify & sign in
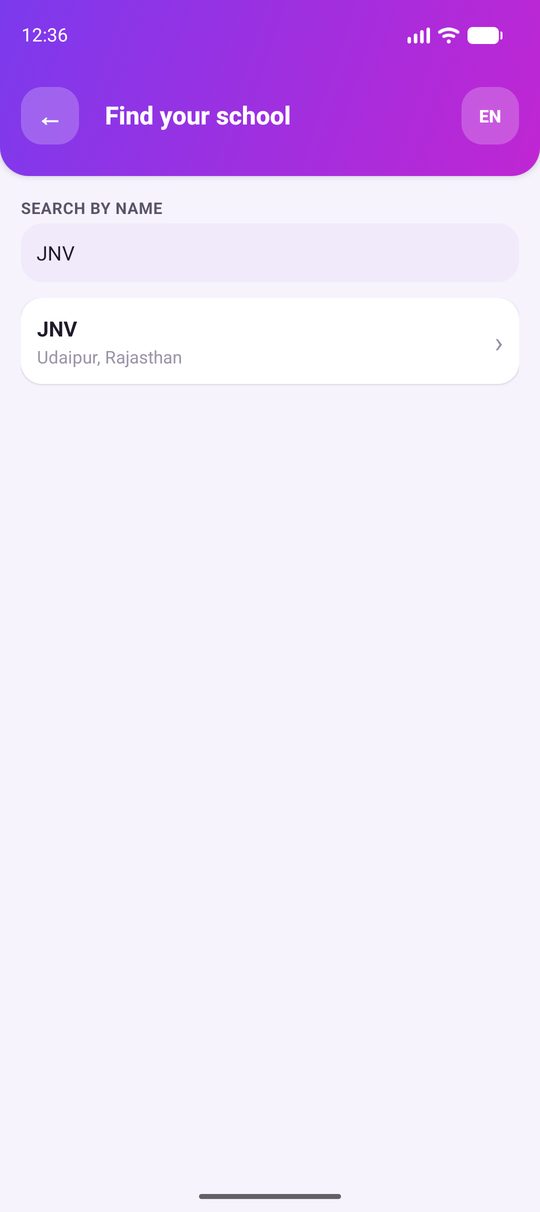
  1. Tap Find my school and type part of the school's name.
  2. Pick your school, enter your 10-digit phone number and tap Send OTP.
  3. A 4-digit code arrives on WhatsApp. Type it in and tap Verify & sign in.
⏱Codes expire after 5 minutes. If one expires, tap Change phone number and send a new one. People who were given a username and password can use Sign in with username & password instead.

The phone remembers your school, so next time you go straight to sign-in.

Find your school search screen showing a matching school
Find your school
Sign in screen after the code was sent, with an OTP field and Verify and sign in button
Enter the WhatsApp code
2
Admin Β· 1–2 hours depending on school size

Build your school

Everything here starts from a tile on the admin dashboard. The order matters: students and staff must exist before anyone can link to them.

Step 2.1

Enroll students (and create class-sections along the way)

Dashboard→Students→+ Enroll student
  1. Tap the Students tile, then + Enroll student.
  2. Enter the roll number, name, date of birth, gender, address, parent name, parent contact and admission date.
  3. Under Class-section, choose the student's class. If it doesn't exist yet, tap + New class-section and enter the class name, section and academic year. It's then ready for the next student too.
  4. Tap Enroll student. Repeat for each student.
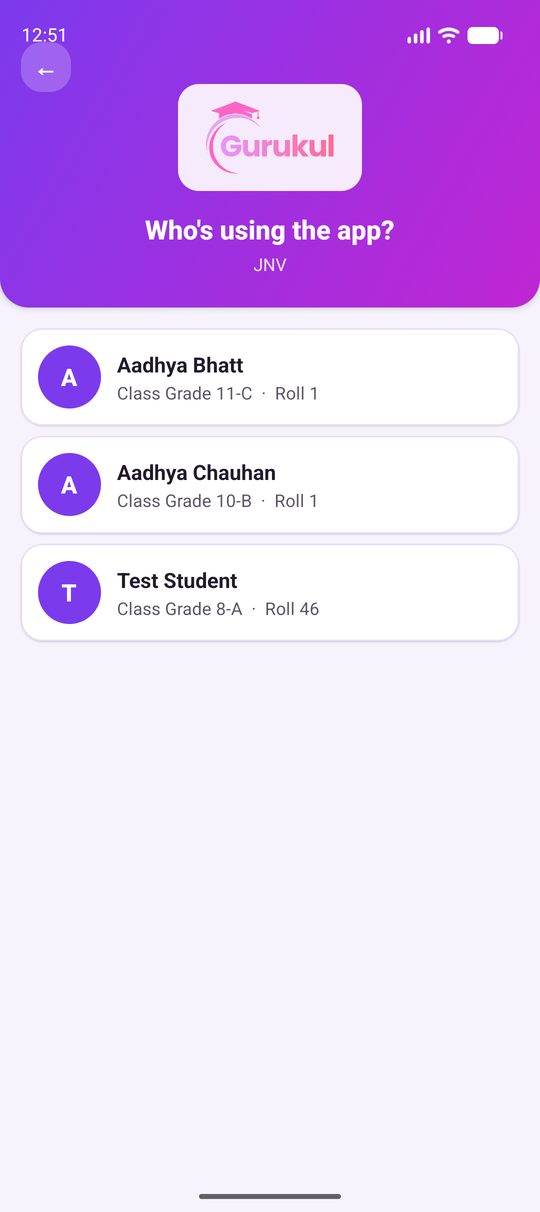
πŸ“±The parent contact number is important. The family signs in with this number and a WhatsApp code, so make sure it's the parent's real, active number. If several children share one number, the app asks "Who's using the app?" at sign-in.

The Students list shows every student with their roll number and class-section.

Step 2.2

Add your staff

Dashboard→Employees→+ Add employee

Add every teacher and staff member with their name, designation, join date, contact phone and (for payroll) bank account number. Teachers must be added here first. The teacher invite code in Stage 3 is created for a specific employee.

The Employees list shows all your staff.

Step 2.3

Check subjects, the grading scale and the school location

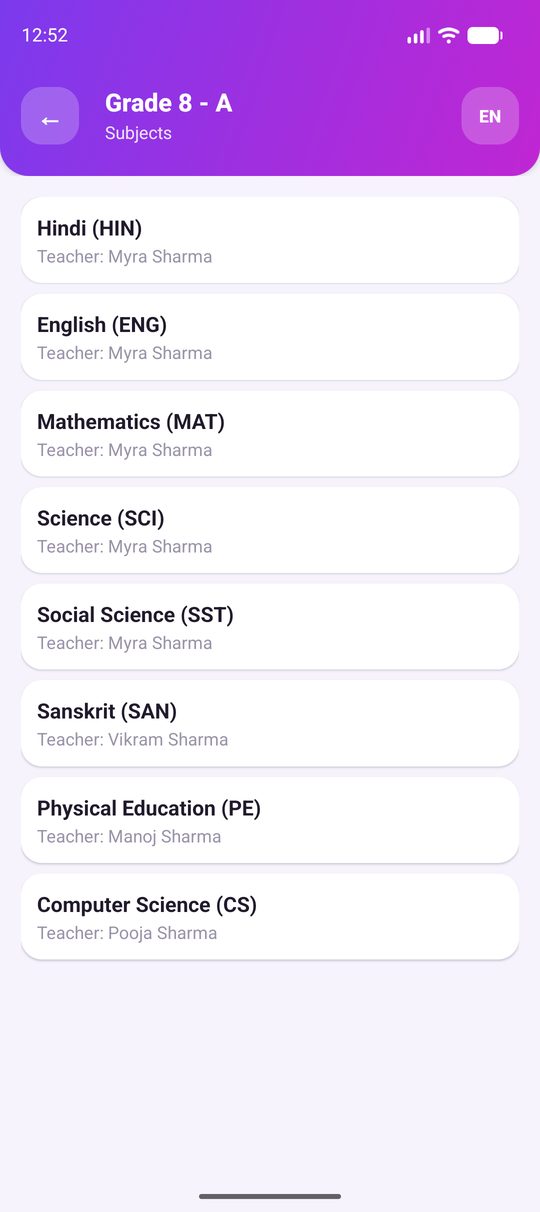
  • Subjects: Classes β†’ choose a class β†’ a section β†’ Subjects shows each subject and its assigned teacher.
  • Grading scale: the Grading Scale tile sets which marks percentage maps to which letter grade on report cards.
  • School location: if you skipped it during registration, open Mark My Attendance β†’ School Location while you're on campus, tap πŸ“ Use my current location, then Save location.
  • Optional hardware: if you have RFID, fingerprint or face-recognition devices, register them under Attendance Devices so a scan marks attendance automatically.

Your classes show the right subjects, and teachers can check in from campus.

3
Admin + teachers, students & parents

Invite your people

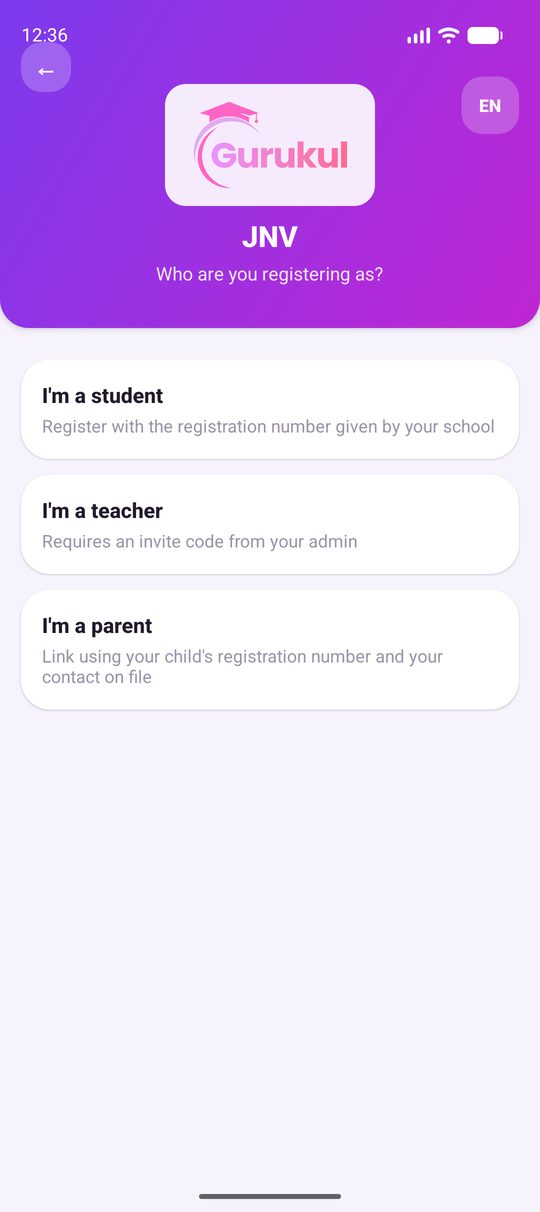
Everyone joins from the same starting point: Find my school β†’ New here? Create an account. They then choose who they are.

Step 3.1

Invite teachers with a code

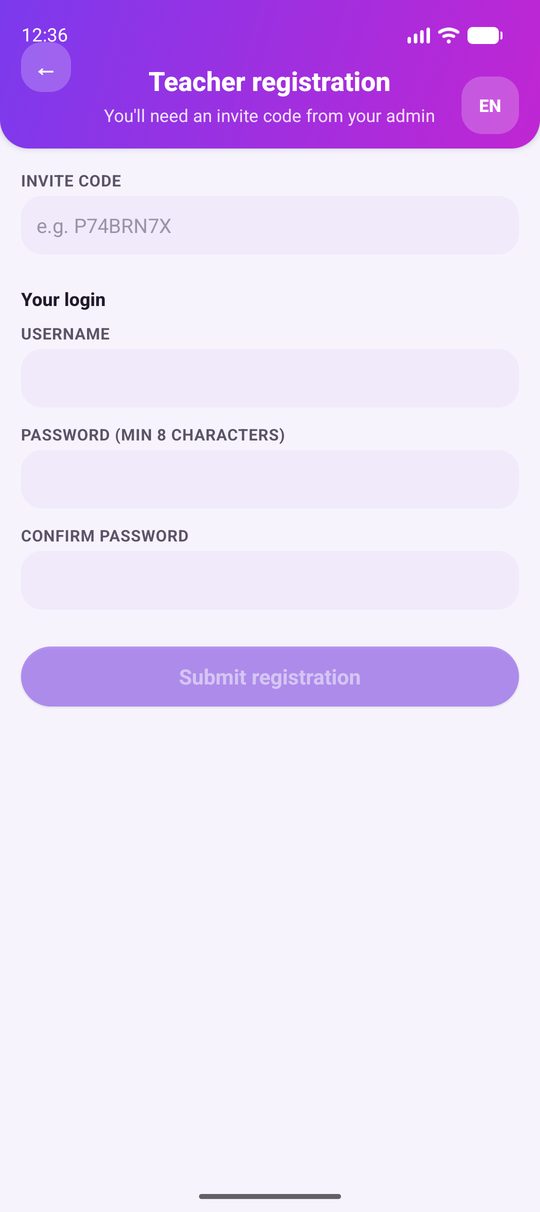
Admin: open Registration Approvals β†’ Invite a teacher, pick the teacher from your employee list and tap Generate invite code. Send the code (it looks like P74BRN7X) to the teacher on WhatsApp. The code has an expiry date, shown on screen.

Teacher: Find my school β†’ choose the school β†’ New here? Create an account β†’ I'm a teacher. Enter the invite code, choose a username and password (at least 8 characters), and tap Submit registration.

The teacher's registration is submitted. They can sign in once it's approved (Step 3.3).

Create an account screen asking who you are registering as: student, teacher or parent
Choose a role
Teacher registration form with invite code, username and password
Teacher registration

Step 3.2

Students and parents

Easiest way: once a student is enrolled with a parent contact number, the family can sign in straight away with that number and a WhatsApp code (Step 1.3). No form is needed.

To create a username and password instead, go to New here? Create an account, then:

  • I'm a student: enter the registration number given by the school (or an invite code), then choose a username and password.
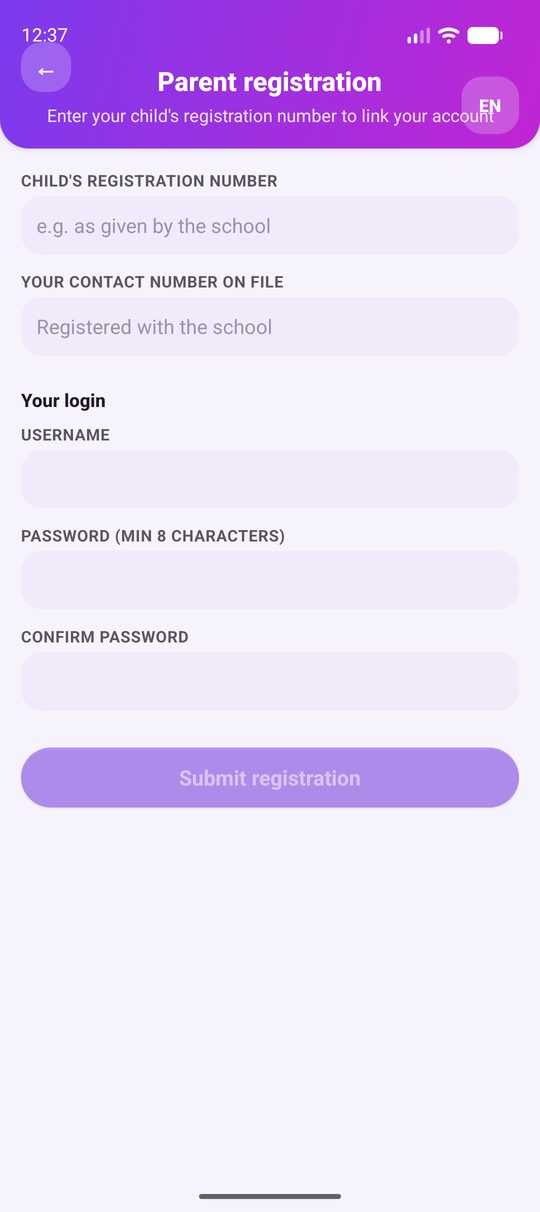
  • I'm a parent: enter the child's registration number and your contact number on file with the school, then choose a username and password.
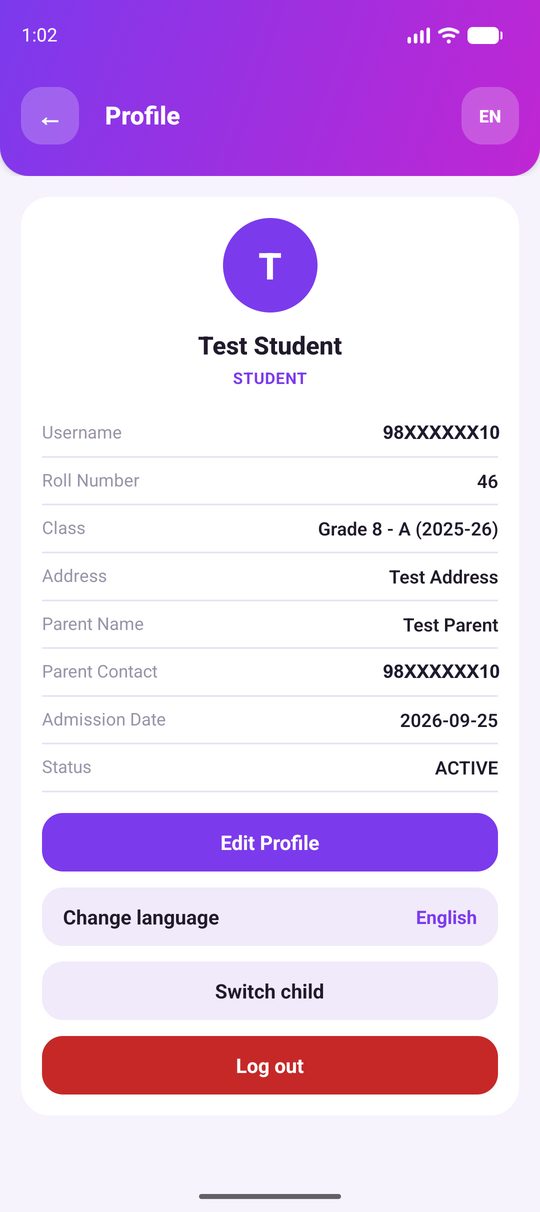
πŸ‘¨β€πŸ‘©β€πŸ‘§Parents with more than one child at the school see a "Who's using the app?" screen at sign-in, and can switch any time from Profile β†’ Switch child.

Families can see their child's dashboard, or their registration is waiting for approval.

Parent registration form with child's registration number and contact number on file
Parent registration
Who's using the app screen listing several children linked to one phone number
One number, several children

Step 3.3

Approve registrations

Dashboard→Registration Approvals

Every registration submitted through the forms waits here. Tap Approve or Reject for each one. Until then, the person sees "Registration submitted: you'll be able to sign in once a school admin reviews and approves your registration."

The Registration Approvals list is empty and everyone can sign in.

4
Admin & teachers Β· ongoing

Run the school day to day

Once people are in, these are the everyday jobs. Each one is a tile on the dashboard.

Daily

πŸ“‹ Attendance

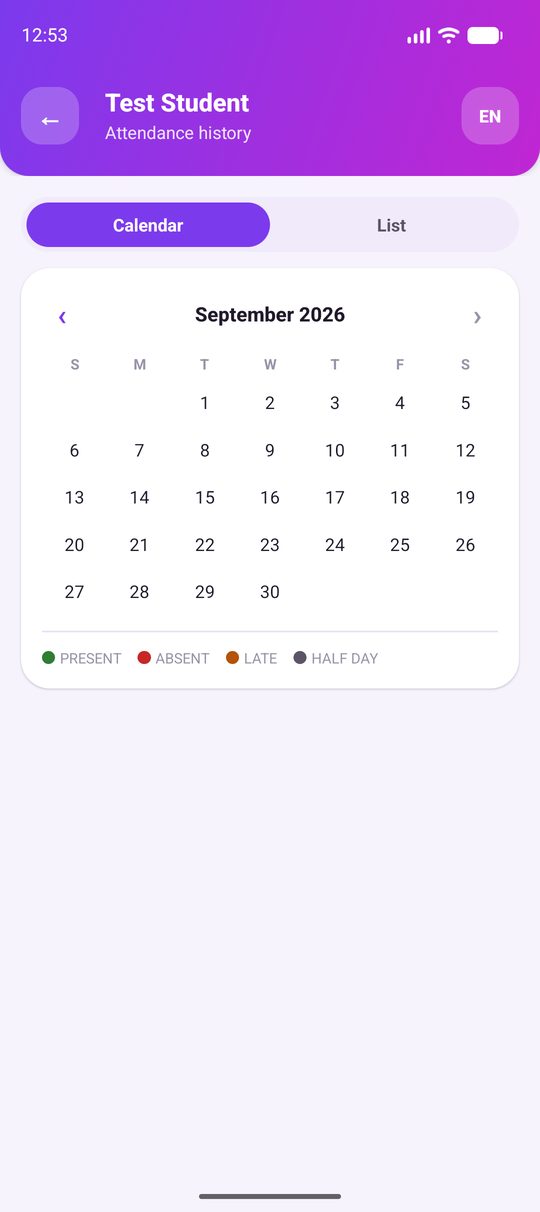
  • Students: Classes (or a teacher's My Class Section) β†’ section β†’ Attendance. Mark present, absent, late or half day.
  • Teachers: Mark My Attendance checks them in from the school premises.
  • Admin: Staff Attendance shows today's staff roster, and Export Attendance downloads an Excel sheet for any date range to share on WhatsApp, email or Drive.

Once per term, then as payments come in

πŸ’³ Fees

Fees→Fee Categories→Fee Structures→Generate→Assessments & Payments
  1. Fee Categories: add your fee heads, such as tuition, transport or lab fee.
  2. Fee Structures β†’ + New fee structure: pick a class-section, add a fee line per category with its amount, and create it.
  3. Open the structure and tap Generate assessments for this class. Every active student in that section gets a bill.
  4. Assessments & Payments: see who owes what and record payments as they come in. Set the receiving bank account under Payment Settings.

More detail: How fees & payroll work.

Monthly

πŸ’° Payroll

Payroll β†’ Salary Structures: set each employee's basic pay, allowances and deductions. Each month, Run Payroll creates the run, processes it and marks employees paid. Payroll Overview shows paid and pending staff across runs. Teachers see their own payslips.

Through the year

πŸ“ Assessments, report cards, events & more

  • Assessments & marks: Classes β†’ section β†’ Assessments. Use Class marks grid to see everyone's marks together.
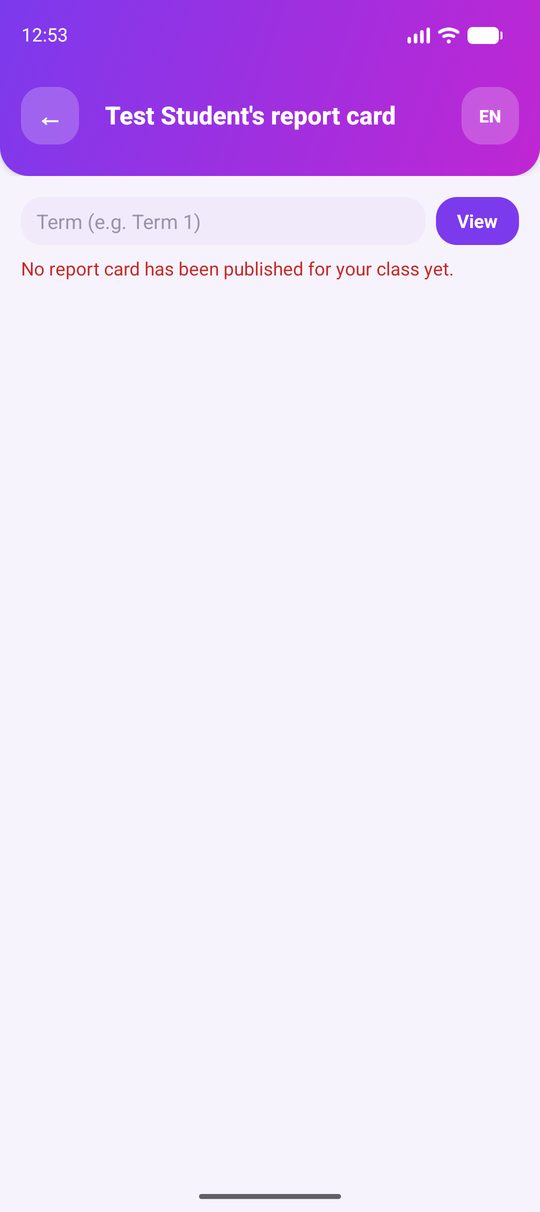
  • Report cards: section β†’ Publish report cards. Students and parents then see them under Report Card.
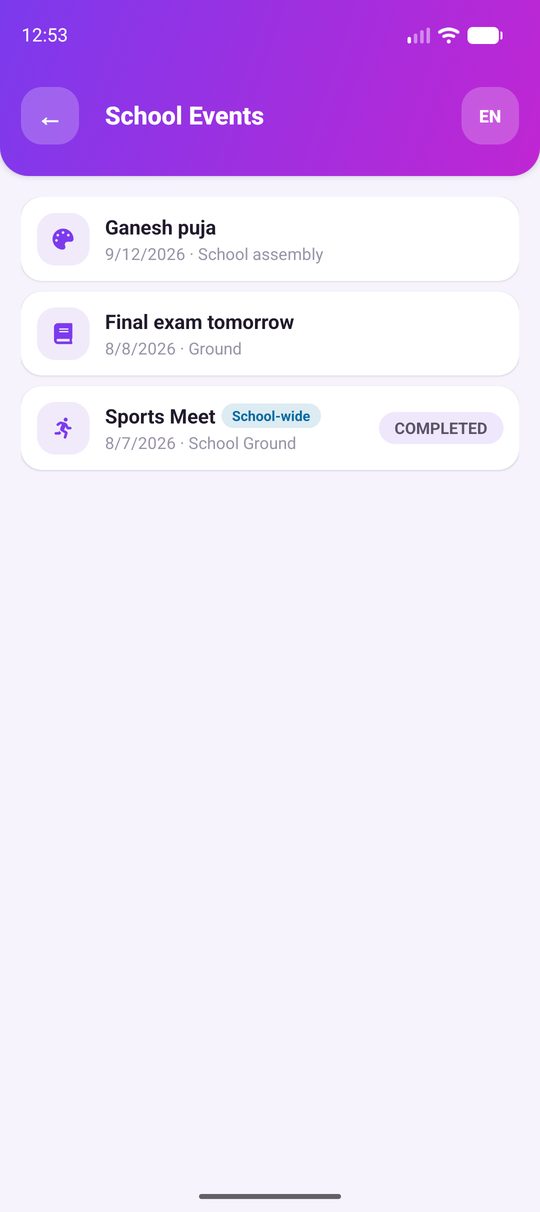
  • School Events: announce the annual function, sports meet or exams with RSVPs, registration forms and polls.
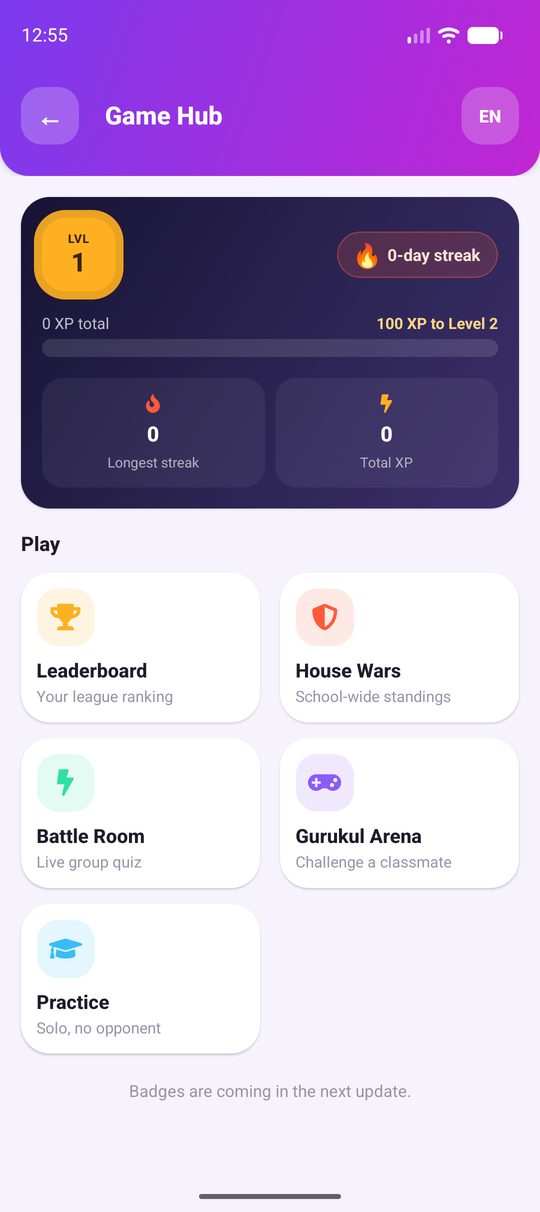
  • Gurukul Arena: teachers build the quiz question bank that powers students' Battle Room, Arena and Practice games.
  • Messages: the chat icon at the top of the dashboard opens conversations with teachers, parents and students.
  • Activity Log: the admin can see who changed what, and when.
β˜…
Share this with families

What students & parents see

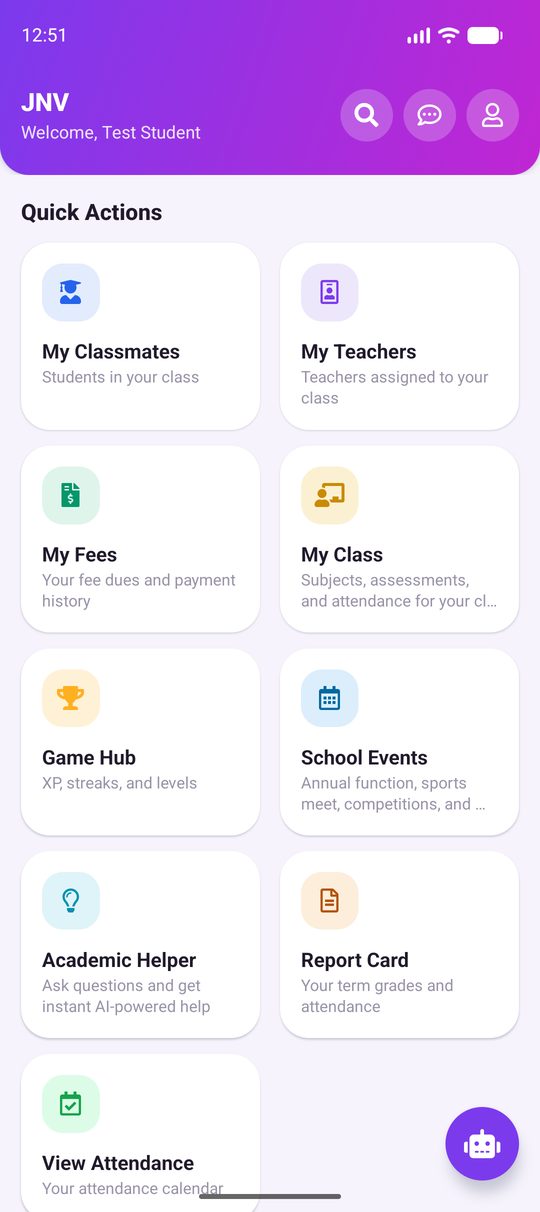
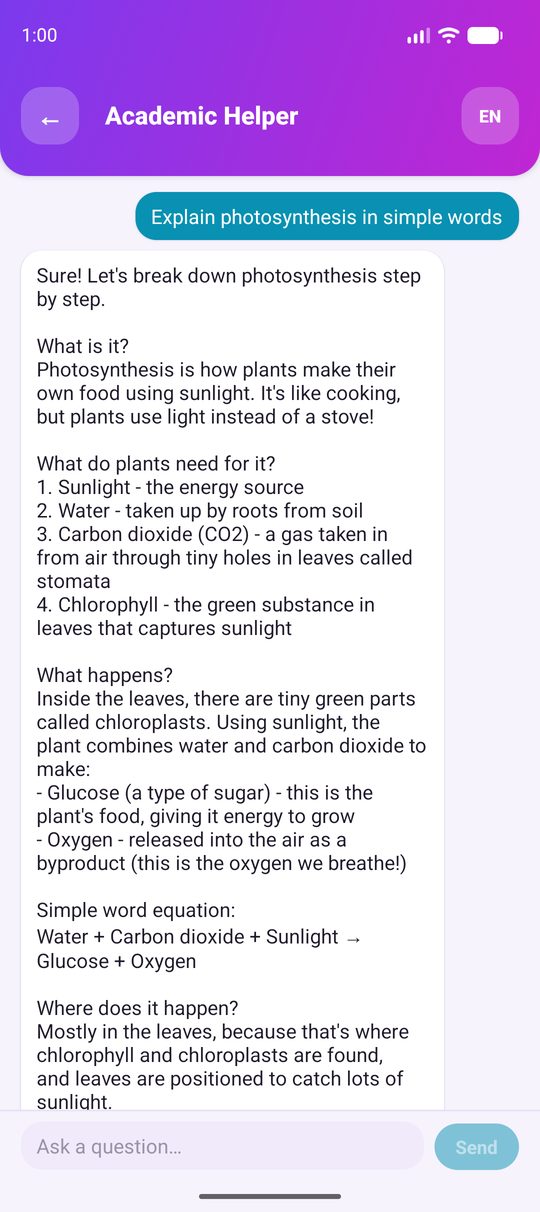
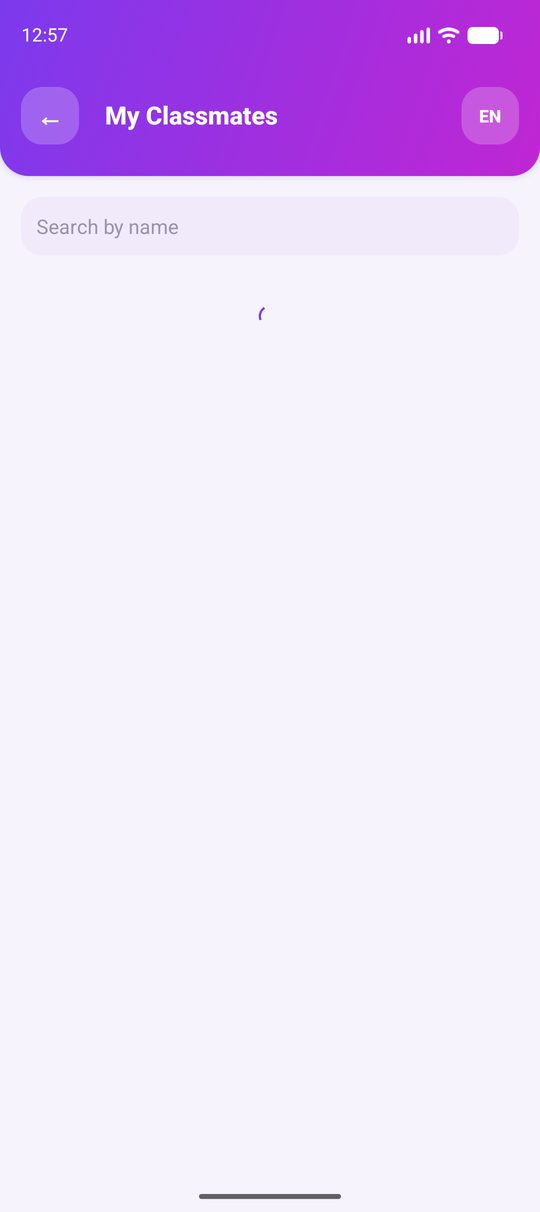
After signing in, students get their own dashboard scoped to their class. Tap any screen to enlarge it.

βœ“
Admin

Go-live checklist

Tick items off as you go. Your progress is saved in this browser, and you can print the page to keep a paper copy.

0 of 0 done
?

Common questions

Quick fixes for the things new schools ask about most.

The app says "Invalid or expired OTP".

Codes expire after 5 minutes, and only the newest one works. Tap "Change phone number", check the number, and tap "Send OTP" again. Then enter the latest code from WhatsApp.

I didn't get a code on WhatsApp.

The code goes to WhatsApp, not SMS, so the number must have WhatsApp. Check that the number matches the one on the school record: the admin phone given at registration, or the parent contact on the student's record. If it doesn't match, ask the admin to fix it.

A parent or teacher says they "can't sign in yet".

If they used the Create an account form, their registration is waiting for approval. The admin approves it under Registration Approvals.

A teacher's invite code isn't working.

Invite codes expire. The date is shown when you generate one. Generate a new code for that teacher from Registration Approvals β†’ Invite a teacher.

I can't find my school in "Find my school".

Search by part of the name, for example "Sunrise" instead of "Sunrise Public School, Jaipur". If it still doesn't appear, the school hasn't been registered yet. The admin needs to complete Stage 1 first.

Can the app be used in Hindi?

Yes. Tap the EN button at the top of any screen, or go to Profile β†’ Change language, and choose ΰ€Ήΰ€Ώΰ€¨ΰ₯ΰ€¦ΰ₯€.

Teachers can't mark their own attendance.

Self check-in only works on the school premises, so the school location must be set. The admin sets it once from Mark My Attendance β†’ School Location while on campus.

Need a hand getting set up?

We're happy to walk your admin through onboarding on a call.